Leverage templates to manage, merge, calculate and export board items to Excel spreadsheets and email them periodically with automations.


Installation
Install the app
To begin using Client Portal Builder:
- Go to the monday.com marketplace and open the Client Portal Builder app listing.
- Sign in if required and install the app into your monday.com account.
- Approve permissions so the app can access workspaces and boards.
- Now create your Clients Board to get started.
First steps
Getting started with monday.com client portals
This page explains the core concepts behind Client Portal Builder for monday.com, including how portals are structured and how board views and item views work together. Installation steps are included above for completeness.
Did you know?
Client Portal Builder gets shipped with multiple app views, depending on specific use cases. But you must have the Client Portal Builder board view added next to your Clients Board main table, and the Client Settings item view added to each client item on your Clients Board.
Core concept
One setup to serve all clients from a single portal
Client Portal Builder is designed around a single Clients Board that powers one central Client Portal. This portal is configured once and used to serve all clients. Using conditional logic, the app controls which content and boards are shown to each client. This ensures every client only sees the information that is relevant to them, while you manage everything from one shared setup.
Did you know?
Client portals can include static content shown to all clients and dynamic content that changes based on the signed-in client, such as dedicated client boards, selected board items, or placeholders.
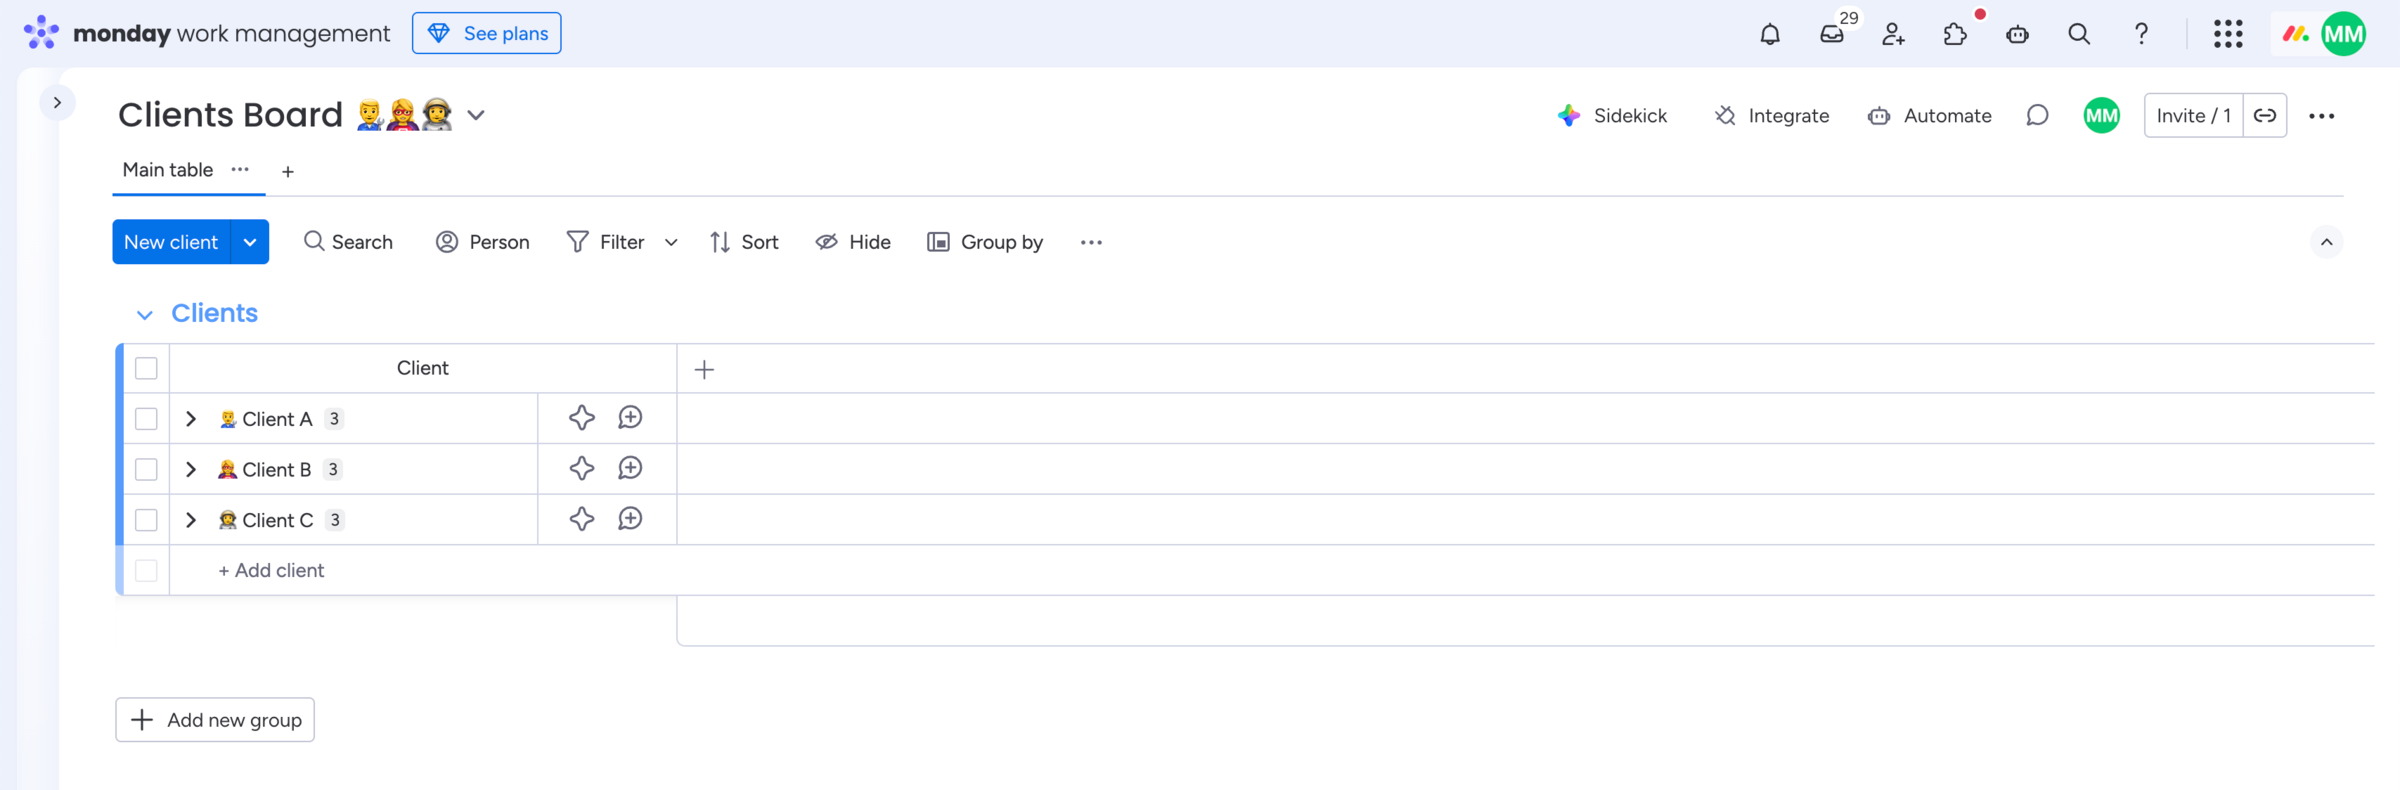
Clients Board
Create a Clients Board
The Clients Board is the essential core for everything:
- Use or create a new
Clients Boardin your workspace. - Ensure each item on this board represents one client.
Did you know?
The Clients Board is essential to make the app work since everything connects to this board. It holds one item per client and is the foundation for your portal.
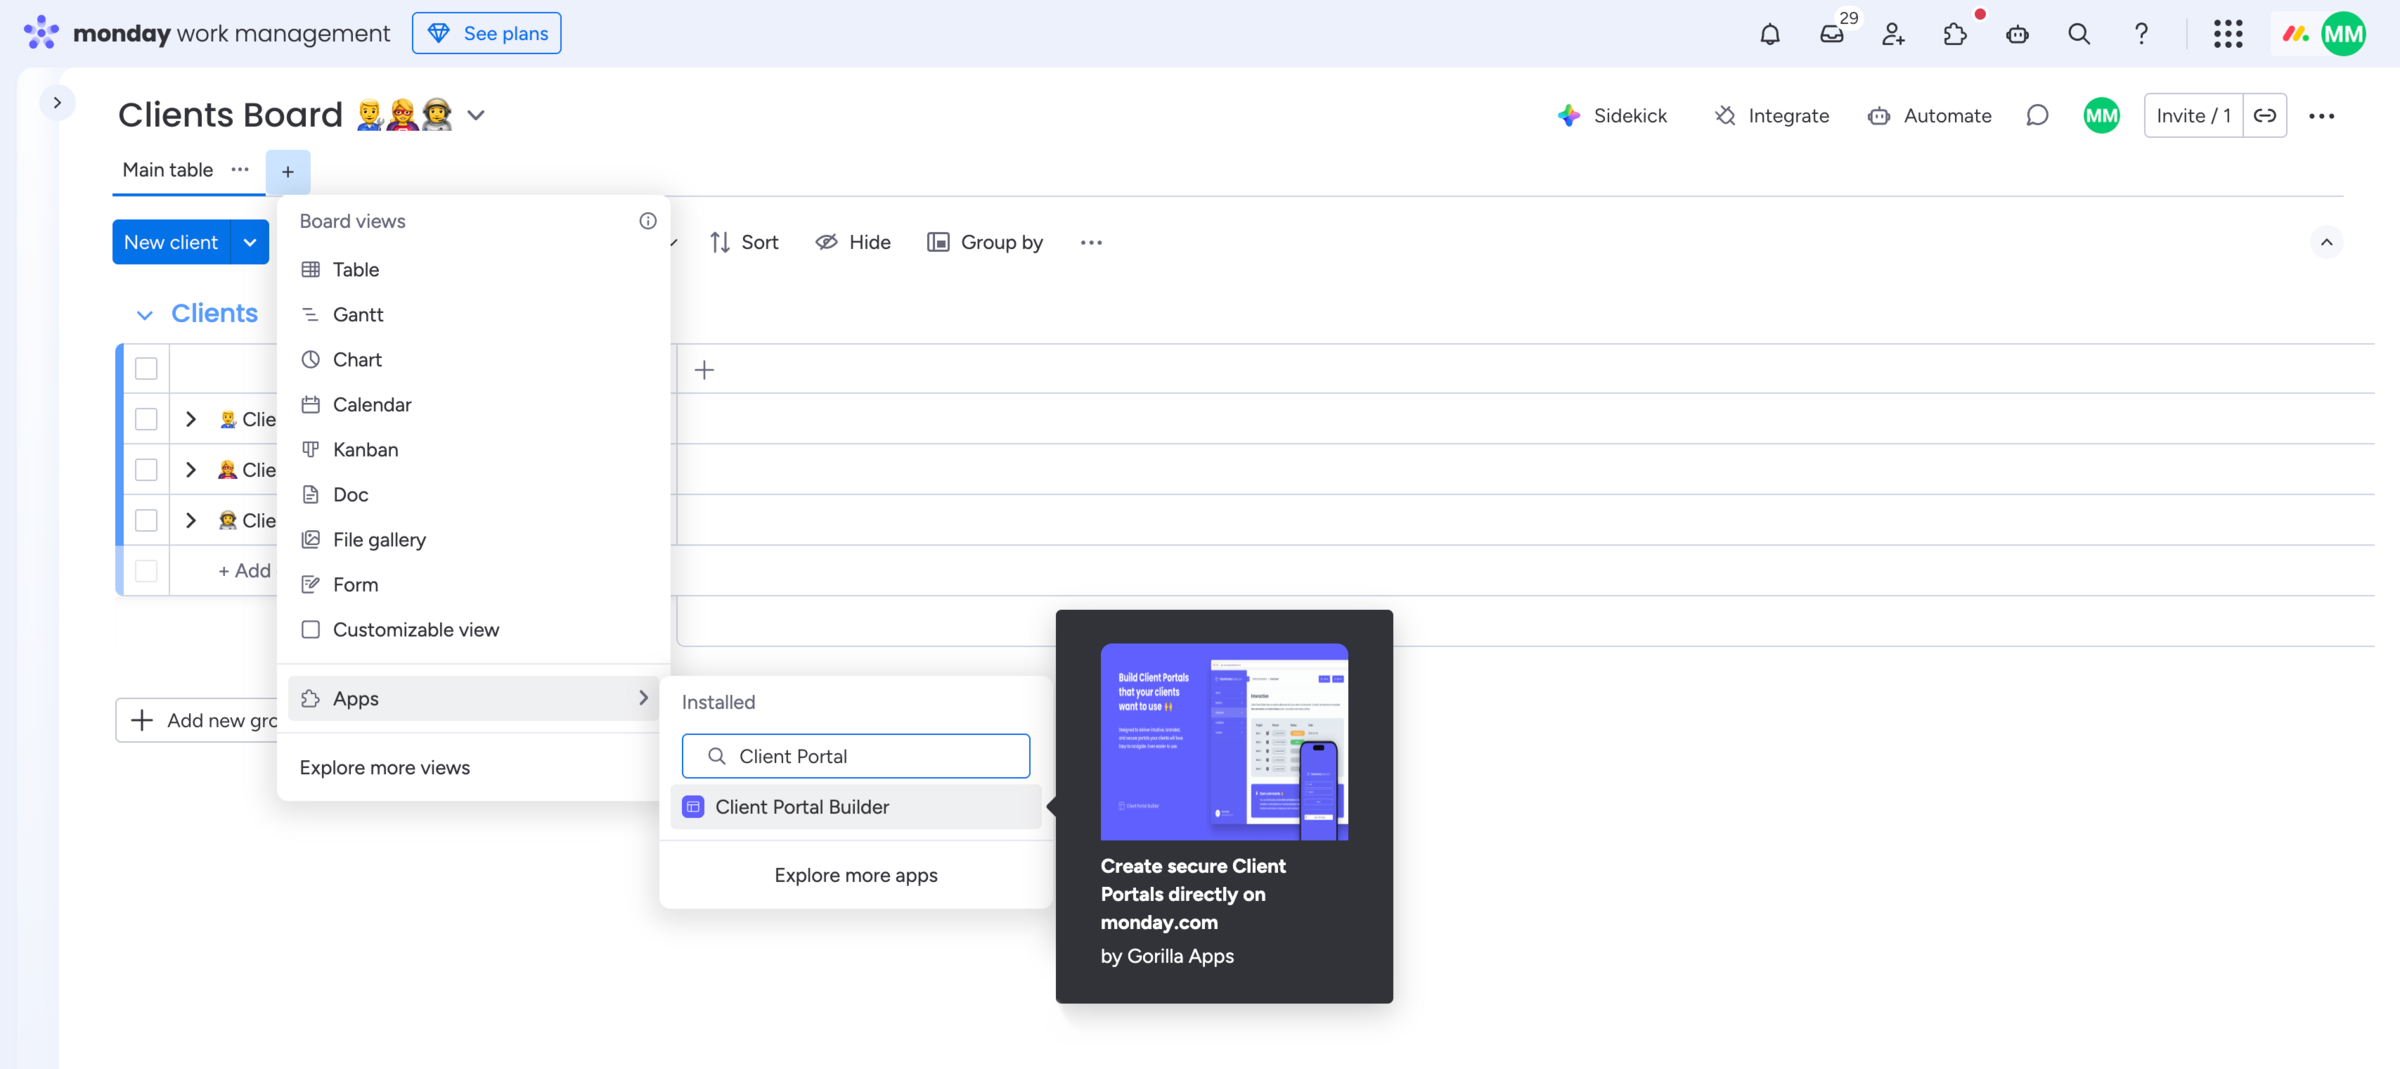
Board view
Add the Client Portal Builder board view
The Client Portal Builder board view is where you configure your portal:
- Click
+next to yourClients Boardmain table to add theClient Portal Builderboard view. - First, double check and confirm you are in the right board where each item represents one client.
- Then authorize the app and create an integration user on behalf of your monday.com ccount.
- Before diving into this view, make sure you also add the item view on your
Clients Board.
Did you know?
The board view is where you structure and design your portal to serve all your clients from one central place.
Item view
Add the Client Settings item view
The Client Settings item view is where you configure client specific settings:
- Head over to your
Clients Boardmain table. - Open the
item pageof your first client item. - Click
+to add theClient Settingsitem view.
Did you know?
The item view is where you create and manage login methods for each client and connect client related boards. This is also where you can preview your portal by impersonating a specific client.