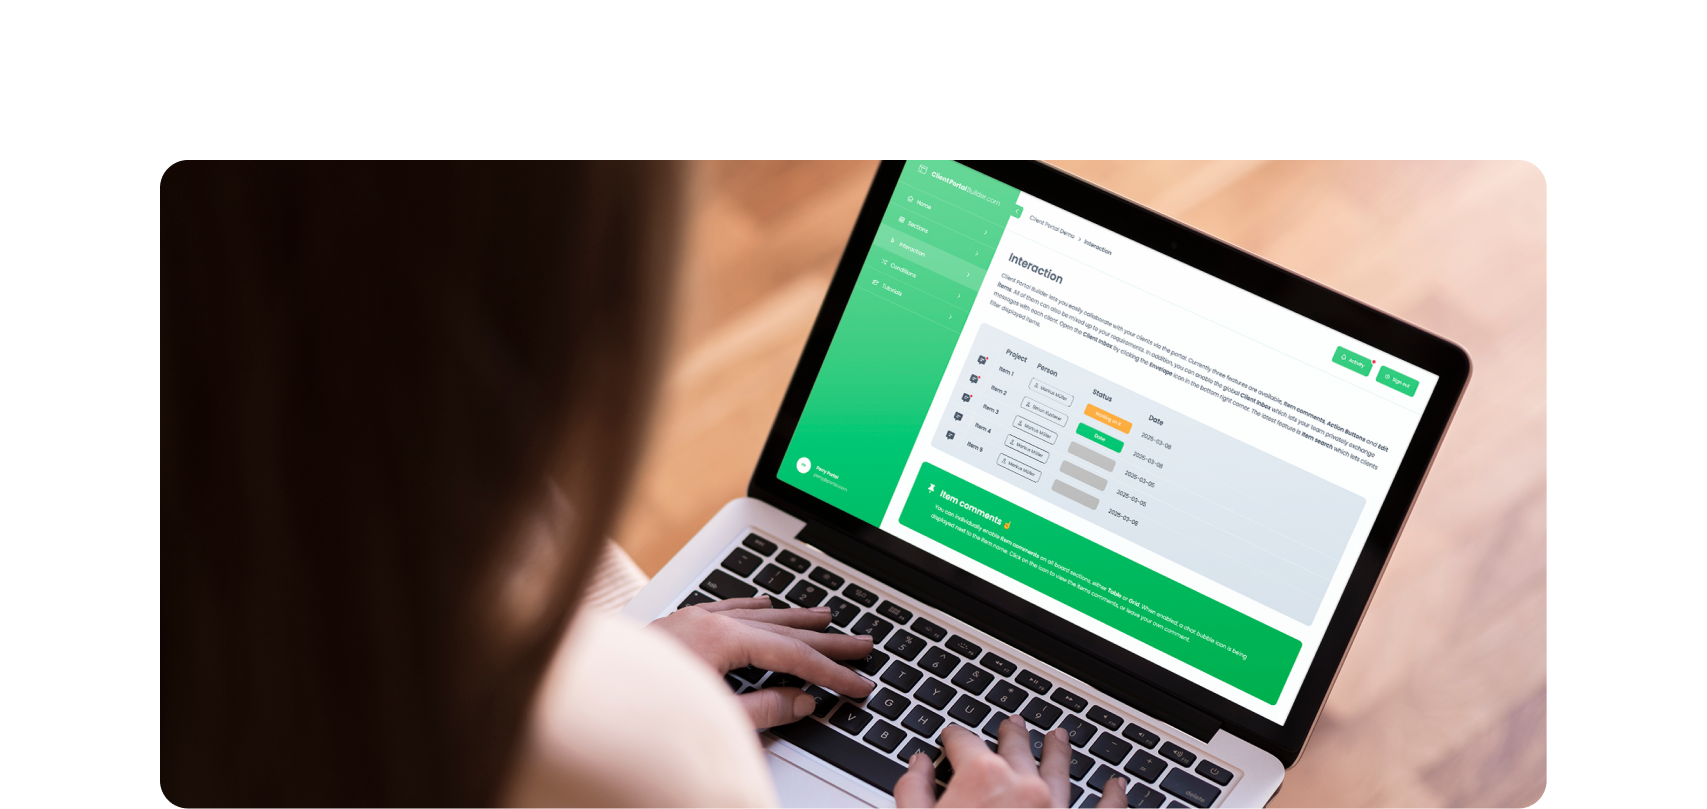
Leverage templates to manage, merge, calculate and export board items to Excel spreadsheets and email them periodically with automations.


Overview
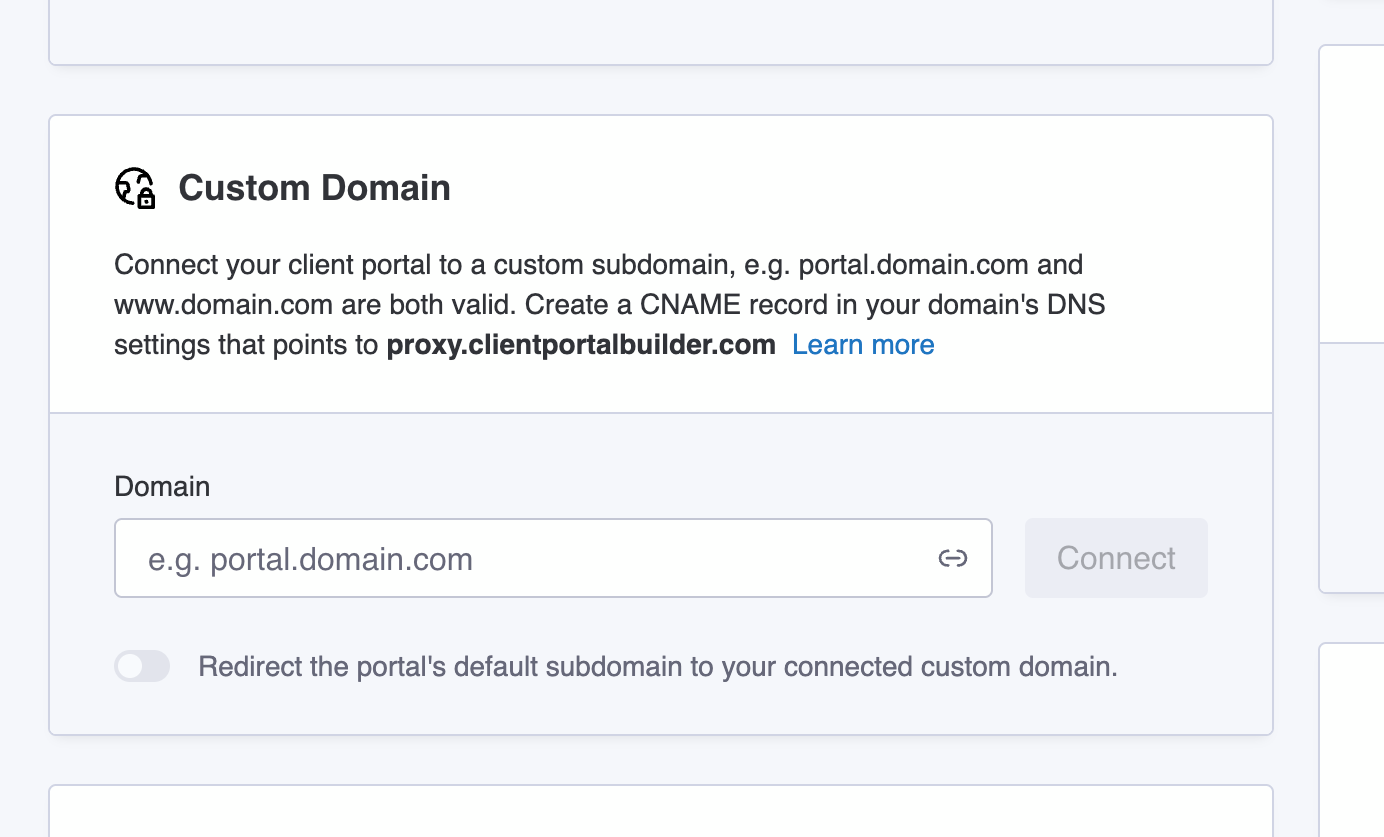
How to connect a custom domain to your client portal on monday.com
This guide explains how to connect a custom domain to your client portal on monday.com so it can be accessed under your own branding and subdomain.
Requirements
Before you start
Make sure that:
- Your client portal is set up and published
- You own the domain you want to connect
- You can edit DNS records for that domain
Configuration
Connect your domain
- Open the Client Portal Builder board view.
- Go to Settings and find the Custom domain section.
- Enter the subdomain you want to use, for example portal.company.com
- Click the
Connectbutton to trigger the connection - Copy the DNS target value
proxy.clientportalbuilder.com - Open your domain provider’s DNS settings and add a CNAME record:
- Host: The subdomain you entered
- Target: Paste the value provided above
- Save the DNS record and return to the portal settings.
- Wait until the domain status changes to Connected.
Did you know?
DNS changes can take some time to propagate. The domain may show as pending until propagation is complete. Once connected, you can optionally enable a redirect from the default portal subdomain to your custom domain.