Leverage templates to manage, merge, calculate and export board items to Excel spreadsheets and email them periodically with automations.


Client Settings
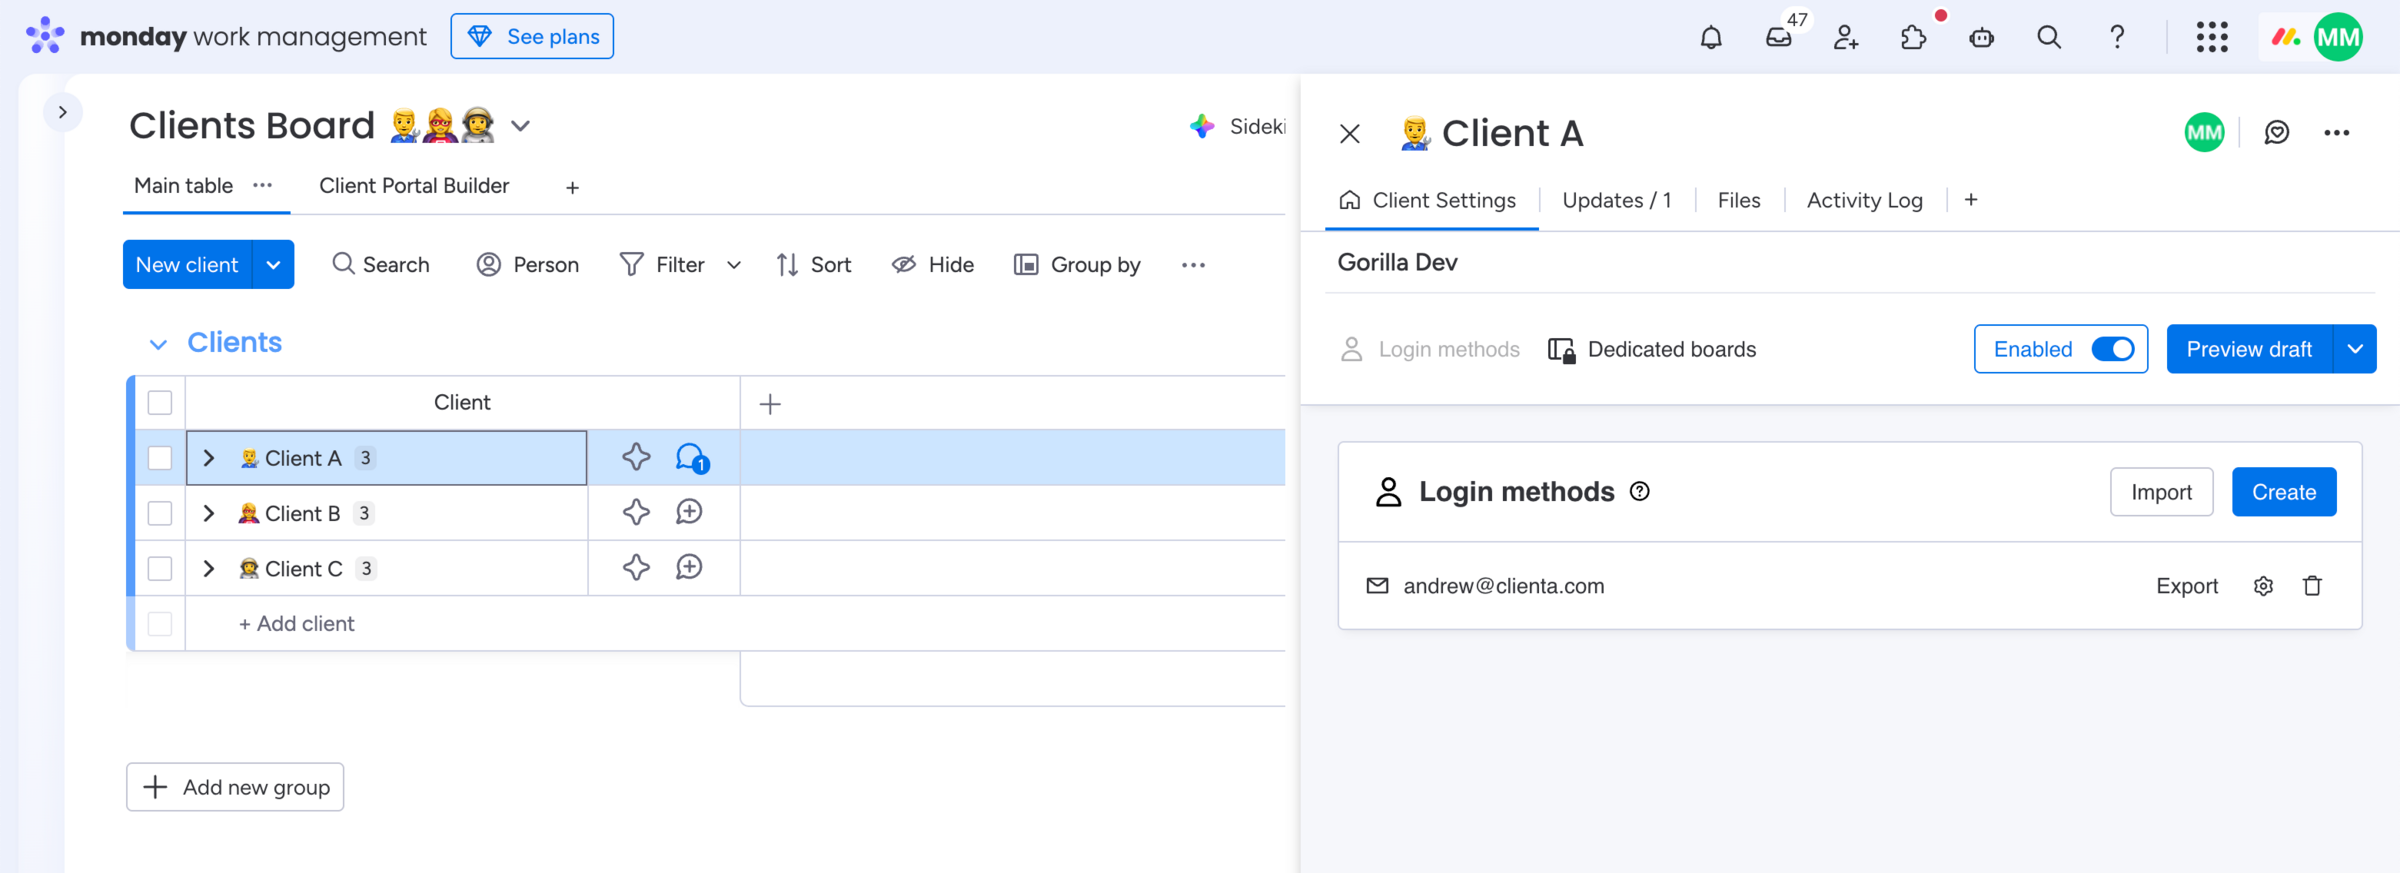
Manage logins and connect dedicated boards for each client in your monday portal
The Client Settings view is as important as the Client Portal Builder view. Here you create and manage all Login methods per client to grant them access to the client portal built on monday.com. Further, you want to assign Dedicated boards for each client in this view, in case this relates to your setup.
How to add the Client Settings view:
- Open one item on your Clients Board
- Click the
+button to add a view - Click
Explore more viewsat the bottom - Search for Client Settings
- Find the view and click
Add to item
How to use the Client Settings view:
- Open the view on a client item
- Click
Login methodsto manage credentials - Click
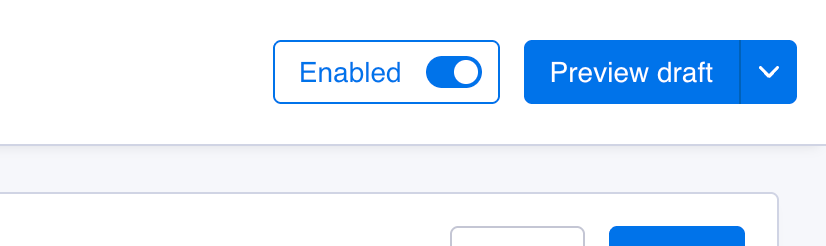
Dedicated boardsto assign such per client EnableorDisablethe client to grant or revoke accessPreviewthe portal from this client's perspective
Did you know?
The Client Settings app view is your control center for each client where you grant or revoke access to the client portal. You can preview your current working draft or the live portal for a specific client by impersonating them.
Login methods
Create and manage login methods per client
Login methods let you manage the way how each client does access the published client portal. Choose in between Credentials and Google Authentication. Besides manually creating login methods on behalf of a client, you can use Workflow automations to automate certain aspects. Learn more about how to grant clients access to the portal or how to troubleshoot login methods with edge cases.

Important
Login methods are not user accounts. Usually you only want to have one or two login methods per client. Any interaction done in the portal is not executed on behalf of a Login method, but on behalf of the Client. For example, if you make use of Action buttons, an automation is triggered on client level and not by the signed in login method.
Dedicated boards
Assign dedicated boards per client
Dedicated boards let you assign the dedicated client board of a client, based on the board setup done within the Client Portal Builder view. This mapping ensures that each client sees their dedicated board in the client portal. The displayed name to the left is the one you chose before to identify the dedicated board section configuration.

Important
In case you or someone from your team does apply changes to the board structure on any involved boards after the initial board setup, you might see a mismatch warning here. Learn more about what causes the mismatch by clicking the button and how to resolve it.
Preview portal
Preview your current draft or published portal per client
From within the Client Settings view you can impersonate a certain client and preview your current working draft or the published portal from their perspective.
How to preview the portal per client:
- Open the client item on your Clients Board of a specific client
- Find and open the Client Settings view next to Updates, Files and Activity Log
- Click
Preview draftto preview the current working draft for that client - Or open the
vcontext menu and clickPreview published portal
Did you know?
While the Preview button from the Client Portal Builder view always impersonates your first client on the Clients Board, the Preview button from within the Client Settings view impersonates a specific client due to its client item context.